Developers · Connecting Claude
Connecting Claude
Claude on WhizzyCommerce always runs on your account, never on ours. Which way you connect decides whether it comes out of your claude.ai plan or your Anthropic API bill.
At a glance
The five ways
The first three are the same connector reached from three different clients. Use one of them if you have a Claude subscription: the thinking happens on your side and we never see a key.
| Way in | Where Claude runs | What it costs you |
|---|---|---|
| Claude Code in a terminal | Your machine | Your claude.ai plan |
| Claude Code in VS Code or JetBrains | Your editor | Your claude.ai plan |
| claude.ai, as a custom connector | claude.ai | Your claude.ai plan |
| The showcase's own connector | claude.ai | Your claude.ai plan |
| Build with Claude, in our editor | Our server | Your Anthropic API key |
Recommended
Your Claude, our connector
One address, added once, gives Claude eleven tools over your themes: read and write the files, validate, stage the draft on the theme's own shop, photograph a page, submit a version and read the review.
In a terminal, with Claude Code. Run this once in any folder, then start Claude and approve the sign-in it opens in your browser.
claude mcp add --transport http whizzy-developer https://app.whizzycommerce.com/mcp/dev
claude
/mcp            # whizzy-developer, then Authenticate
/exit           # once signed in, leave this session
claude          # and start a new one: the tools are in this one
The browser asks you to sign in to WhizzyCommerce and to allow the connection. It is your developer account it connects to, not one shop, and the connection lasts until you revoke it under Developer, then Tokens.
In VS Code or JetBrains. The Claude Code extension uses the same connectors as the terminal, so the command above is all it needs, run once in the IDE's terminal. To share it with everybody on a team, commit it instead:
// .mcp.json, in the root of the theme's repository
{
  "mcpServers": {
    "whizzy-developer": { "type": "http", "url": "https://app.whizzycommerce.com/mcp/dev" }
  }
}
On claude.ai. Settings, then Connectors, then Add custom connector. Name it whizzy-developer, paste the same address, press Connect and sign in. It then works in any chat, on the web and in the desktop app.
| Ask Claude | What it does |
|---|---|
| “List my themes” | list_themes |
| “Open the header section of luxor” | read_theme_file |
| “Make the header sticky on scroll” | write_theme_files |
| “Does anything block a release?” | validate_theme |
| “Show me the home page on a phone” | screenshot_page |
| “Start again from the published version” | reset_theme |
| “Submit 2.1.0 with this changelog” | submit_release |
Files on disk
VS Code and the CLI
If you would rather keep the theme in a folder, with git and your usual editor, the CLI keeps that folder and your account in step. Claude Code then edits ordinary files, the way it does in any repository.
npm i -g https://whizzycommerce.com/cli/whizzy-theme.tgz
whizzy-theme login
whizzy-theme pull luxor            # writes the folder
whizzy-theme dev --shop=ten_...    # pushes on every save, opens a preview
whizzy-theme submit -m "What changed, for merchants"
Claude Code reads AGENTS.md in the folder without being told to: it is the theme format and the performance rules, so a session starts knowing them. Add the connector as well and Claude can validate and submit without leaving the chat.
whizzy-theme pull brings it forward.The demo
The showcase's own connector
Themes are one thing; the demo's content is another. The showcase shop has its own connector, and that is what Claude uses to write the demo's pages, banners and copy.
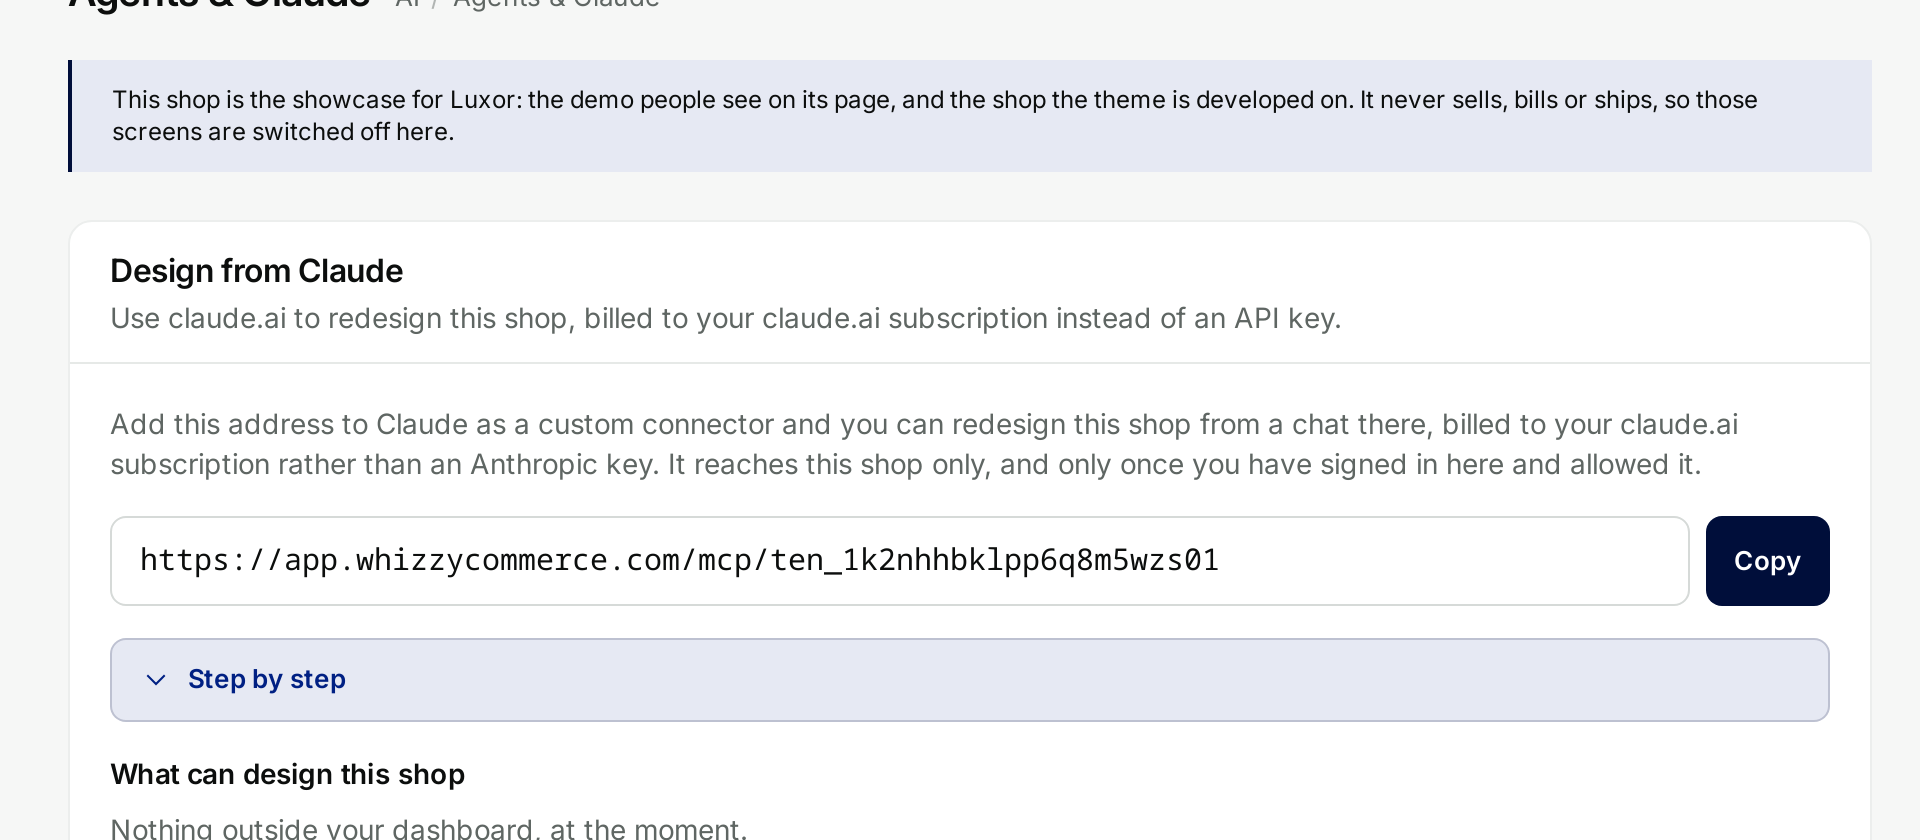
Open the shop's AI screen
Dashboard, the shop, then AI
The address there ends in /mcp/ and the shop's id. Copy it.Add it to claude.ai
Settings, Connectors, Add custom connector
Name it whizzy-merchant, paste, connect, and sign in. It reaches that one shop.Ask for a demo
Lay out the home page, write the section copy, arrange a collection. Changes land in the shop's draft with an undo beside each one.
It cannot publish, and it cannot reach orders, customers or payments, none of which a showcase has anyway. What it changes is the demo people see on your theme's page.
On our server
The panel in the browser editor
The only way that needs an Anthropic API key, because here Claude runs on our server rather than yours. Convenient when you are already in the editor and have no client set up.
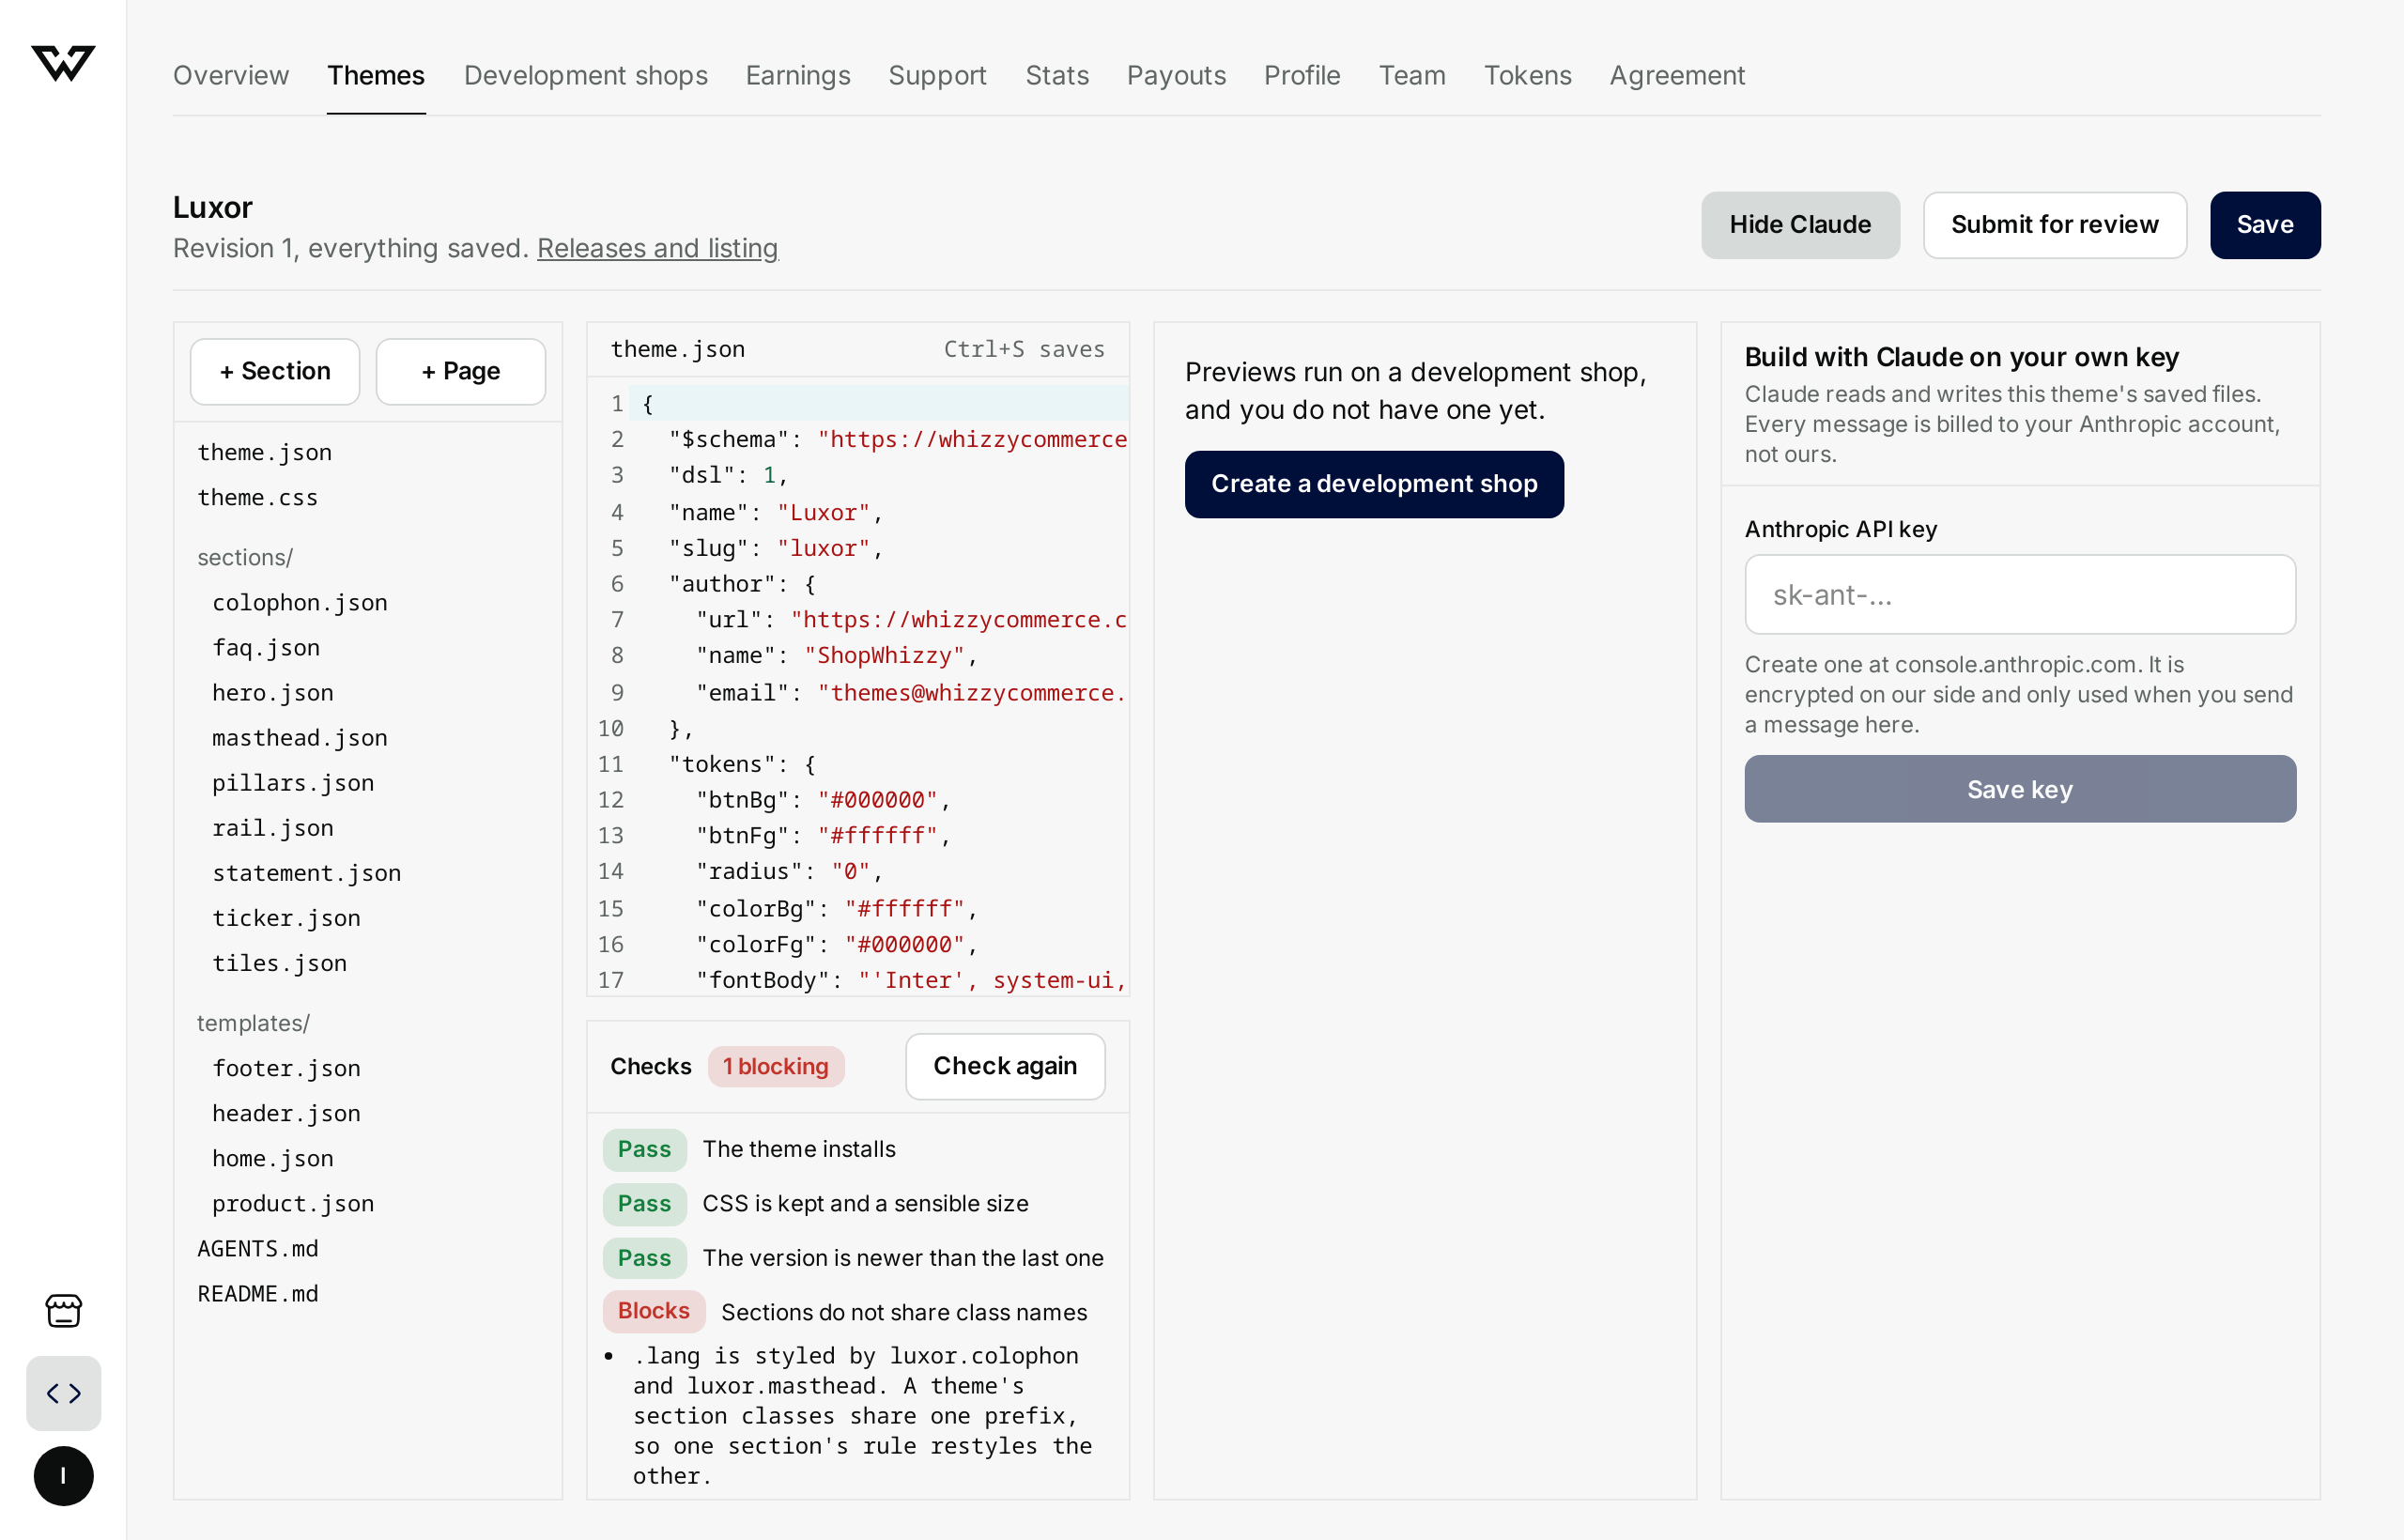
- Press Build with Claude on the theme editor, then paste a key from console.anthropic.com.
- The key is encrypted on our side, kept against that one theme, and used only when you send a message.
- Every message is billed to your Anthropic account. We take no cut and add no markup.
- Remove the key at any time and the panel stops asking for anything.
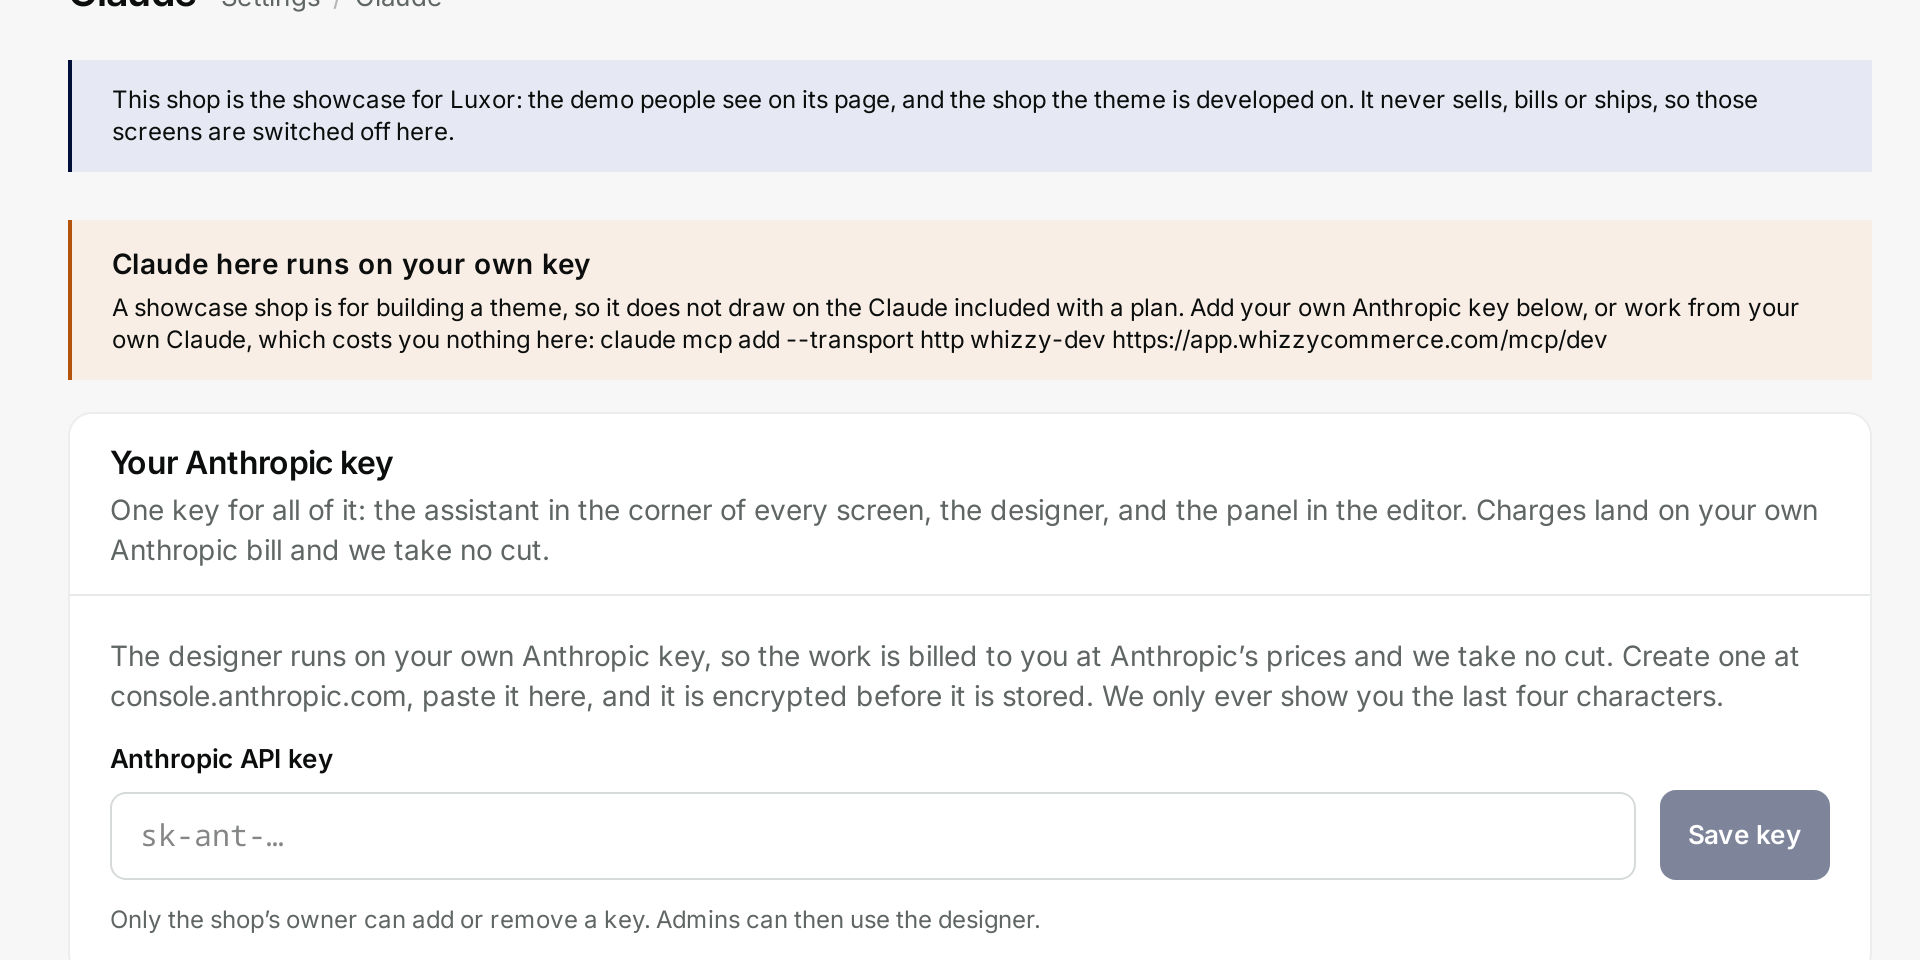
The same is true of the assistant inside a showcase or development shop. Its key lives under Settings, then Claude, on that shop.
No model
CI, with no Claude at all
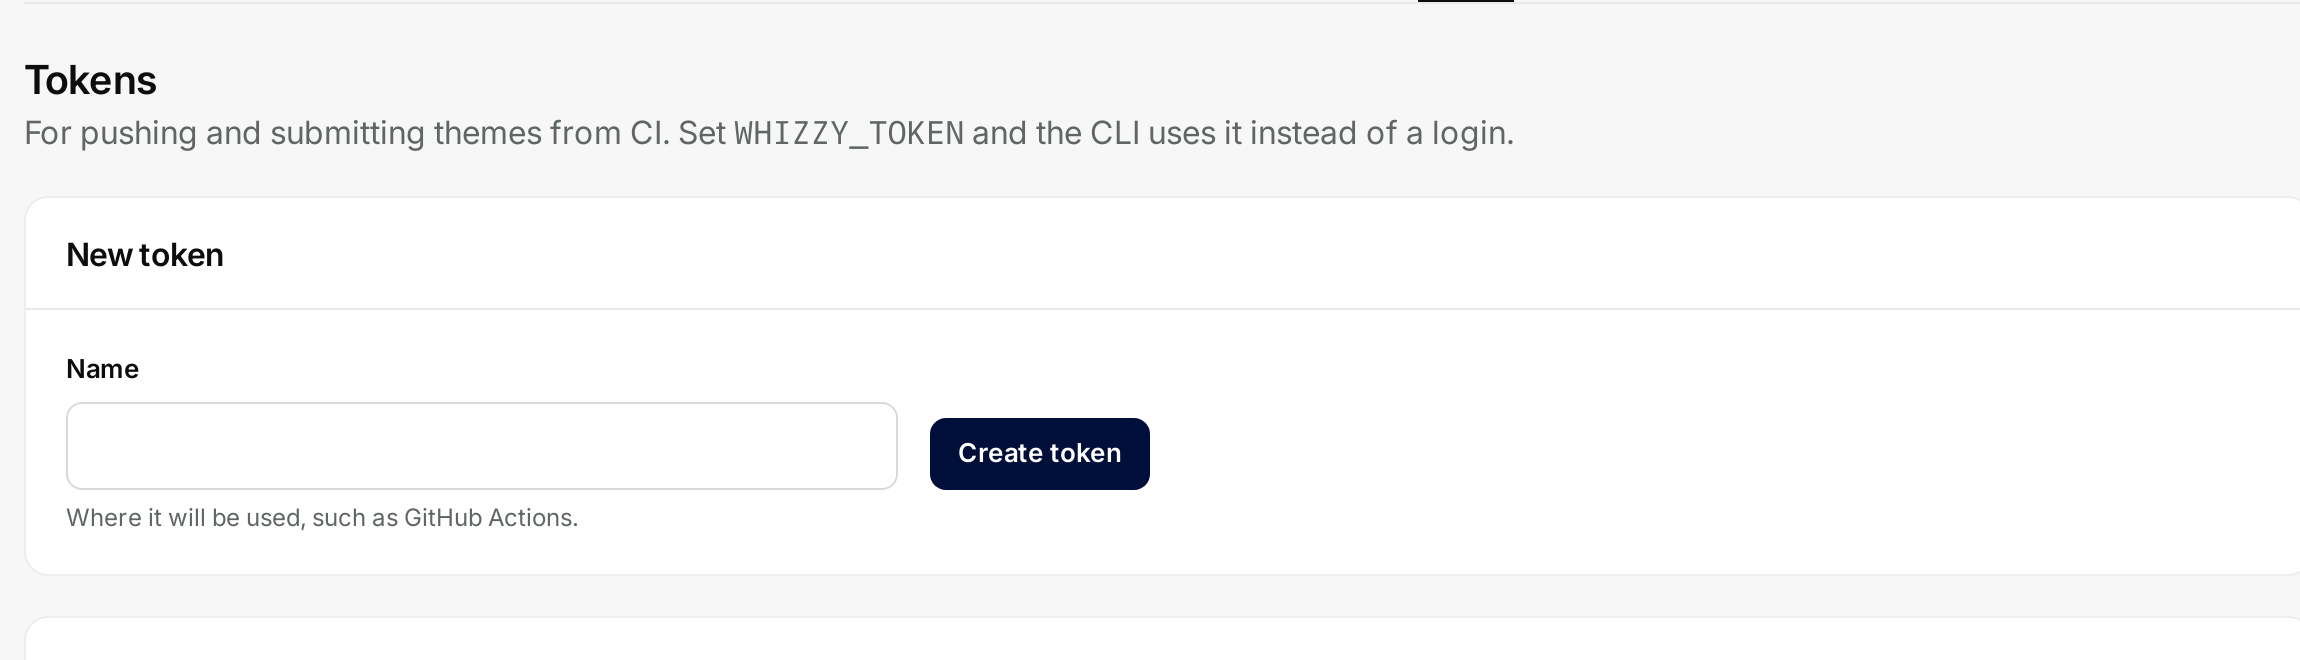
A build server does not need Claude to publish a theme. It needs a token, which is what the Tokens screen makes.
# GitHub Actions, or anything else that runs a shell
env:
  WHIZZY_TOKEN: ${{ secrets.WHIZZY_TOKEN }}
run: |
  npm i -g https://whizzycommerce.com/cli/whizzy-theme.tgz
  whizzy-theme push
  whizzy-theme validate --remote
  whizzy-theme submit -m "${{ github.event.head_commit.message }}"
A token replaces the browser sign-in and nothing else: the same rules, the same checks, the same review. Make one per place, so any of them can be revoked alone.
Money
What each one costs
The short version: connect a client you already pay for, and building a theme costs you nothing beyond that subscription.
| Funded by | Good for | |
|---|---|---|
| Developer connector | Your claude.ai plan | Everything about the theme's files, checks and releases |
| CLI with Claude Code | Your claude.ai plan | Working in git, with your own editor and branches |
| Shop connector | Your claude.ai plan | The demo's content on the showcase |
| Build with Claude | Your Anthropic API key | A quick change without setting up a client |
| CI token | Nothing | Publishing from a pipeline |
Whichever you use, the work is yours and so is the account it runs on. See Tools for the full command and tool reference, and Releases and review for what happens after you submit.